Learning to stop before you click.
In this article, I am going to give you the most simple way to improve the quality of your architectural and interior photography images. Heck, I would say anything you do. So read on!
I am going to guess, if you are like me, you have been inundated with the latest photo gadgets, these days all the rage seems to be mirrorless cameras. While there is gear that can, in fact, make your job as an image creation easier, and one could say more profitable, these items do not necessarily make your images any better. How can I know this? I have lived the transformation from analog 4×5 crome film to today’s AI-altered digital world and have seen zero final output difference from one workflow to the next.
A quarter-century visual retrospective.
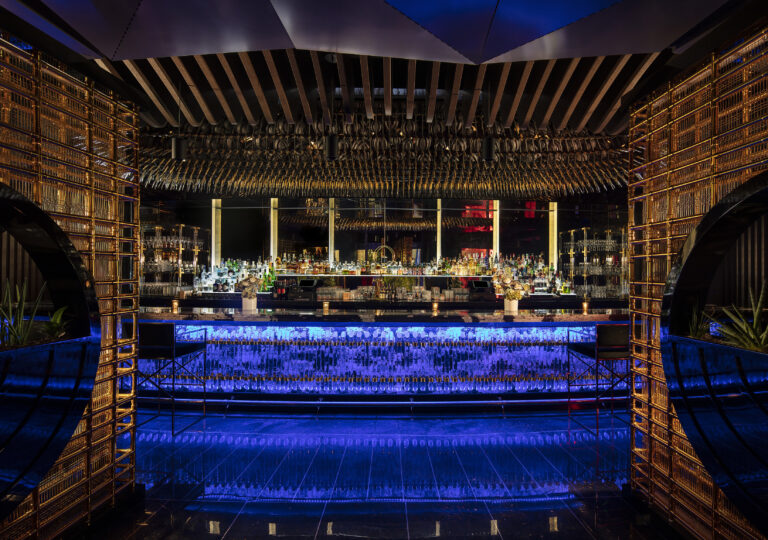
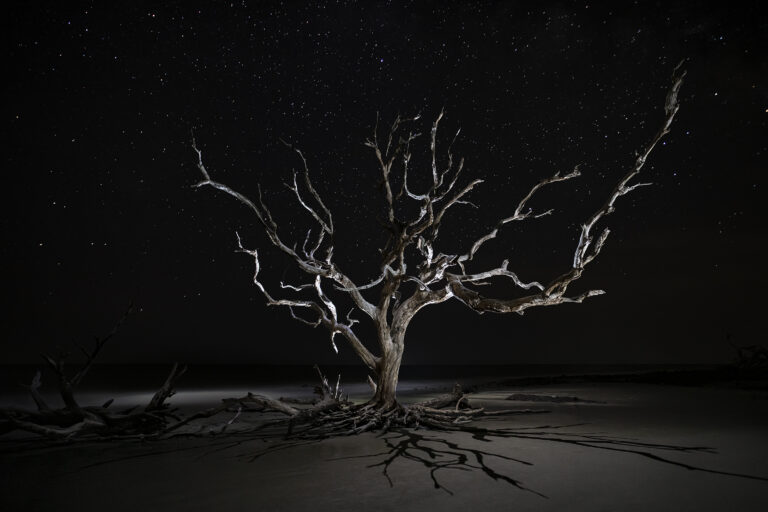
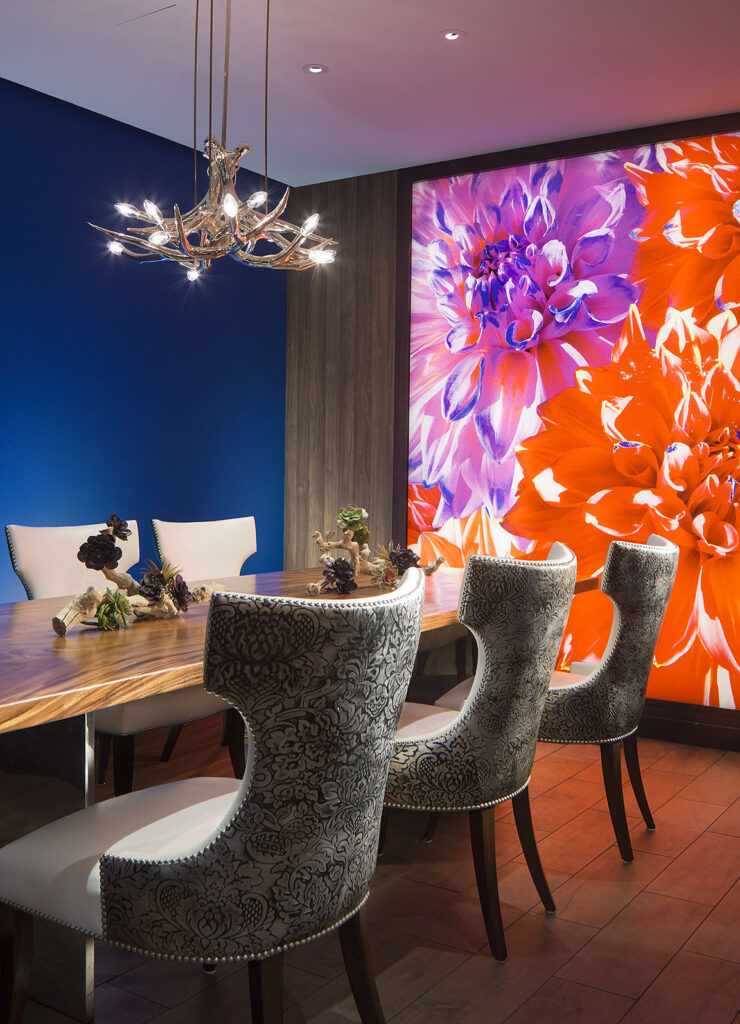
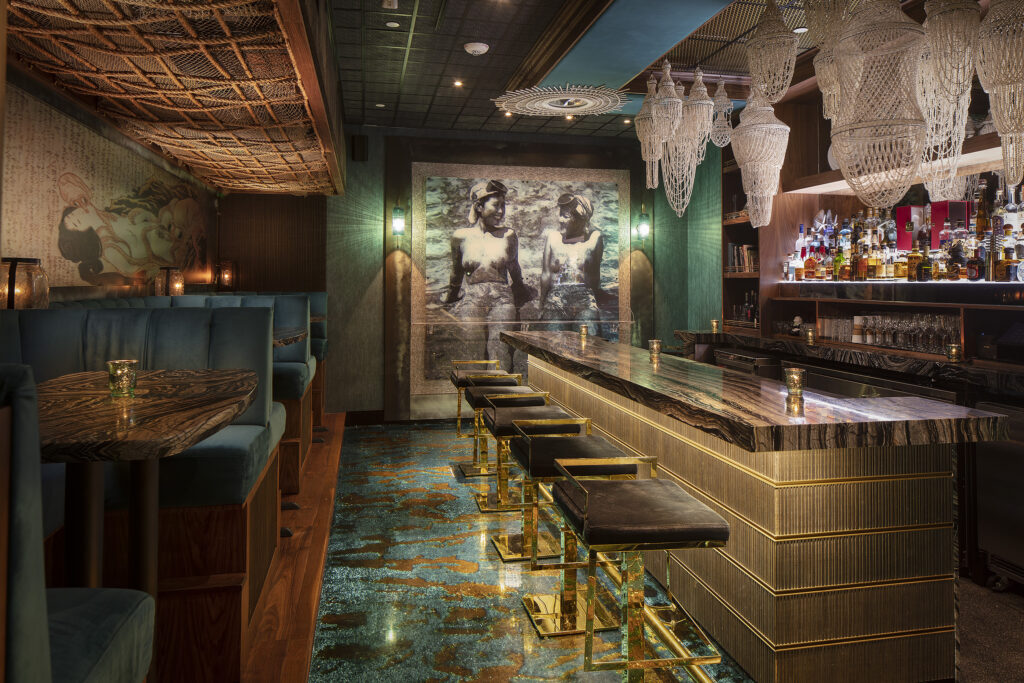
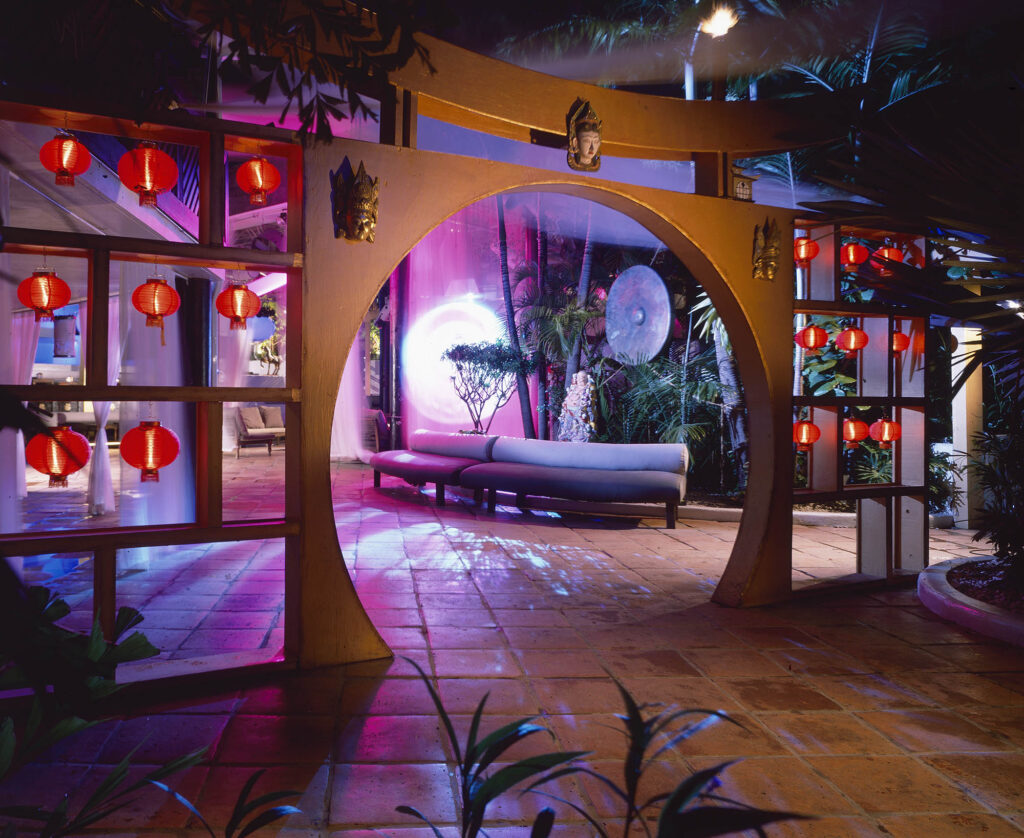
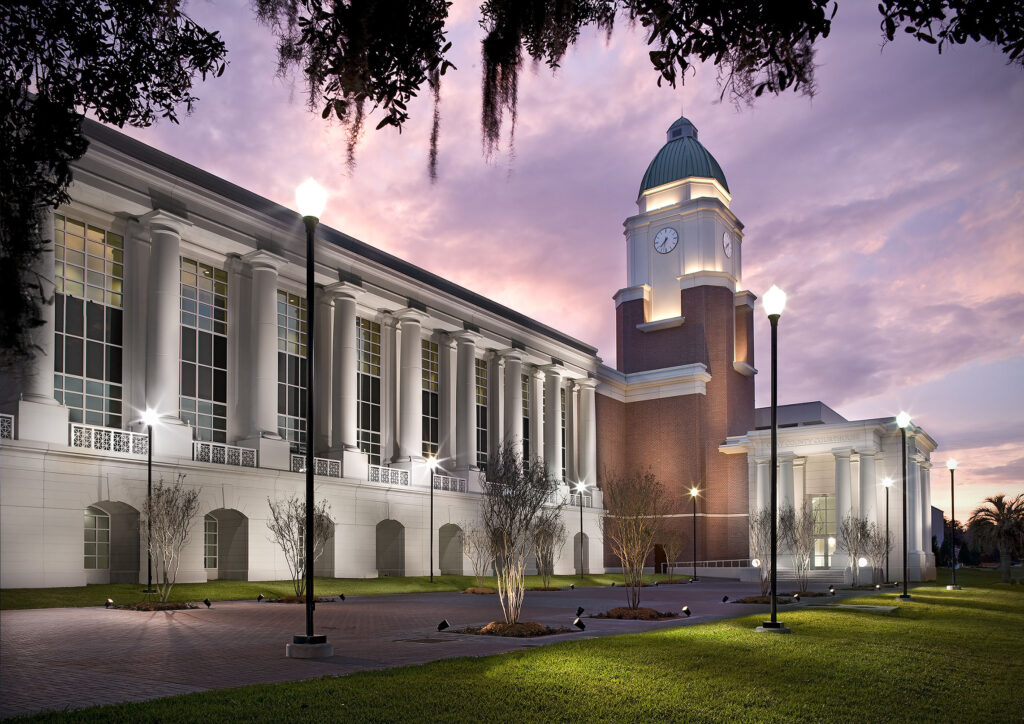
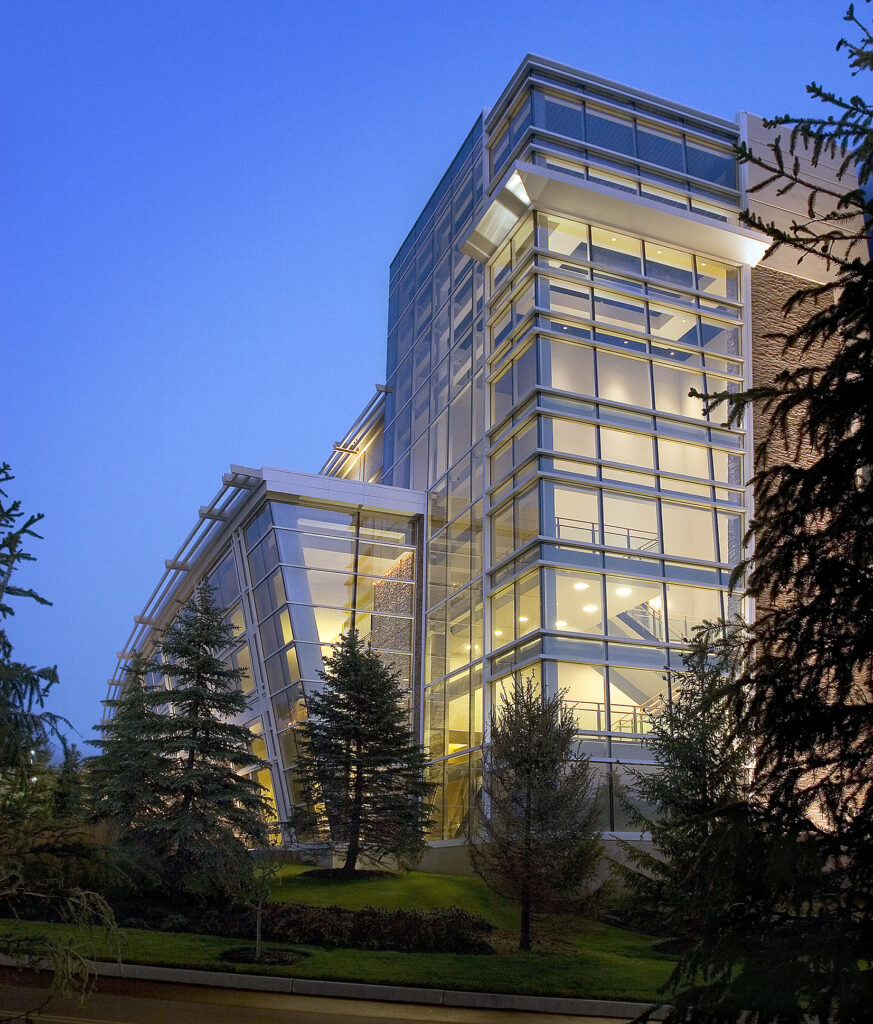
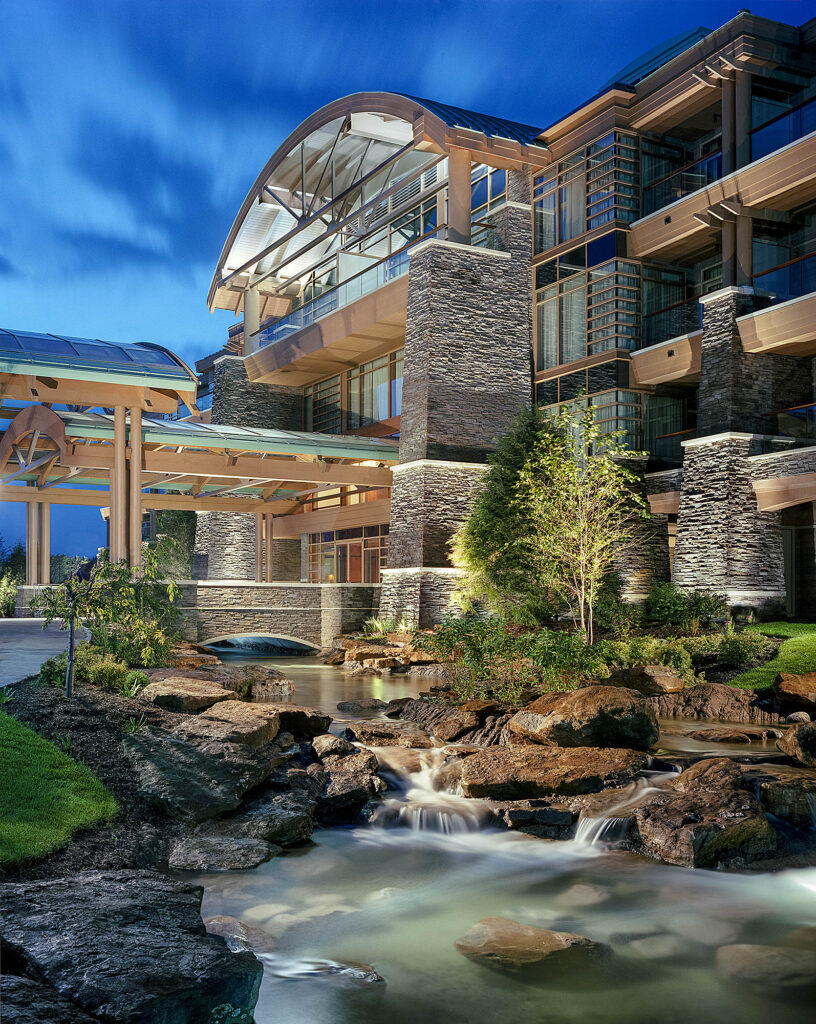
Take the following image gallery, photographed over nearly a 25-year time span with various cameras and lighting equipment. Without notes, you would never know which ones were shot when, or with what camera or lighting. The most surprising to me now and at the time are the bottom two images, one photographed on a barely acceptable 8.8 MP file from a canon 20d sitting side by side with a 4×5 NPS negative scan. Both were delivered in 2004 to the client BBGM, scanned to, and output to 4×5 chrome, both.

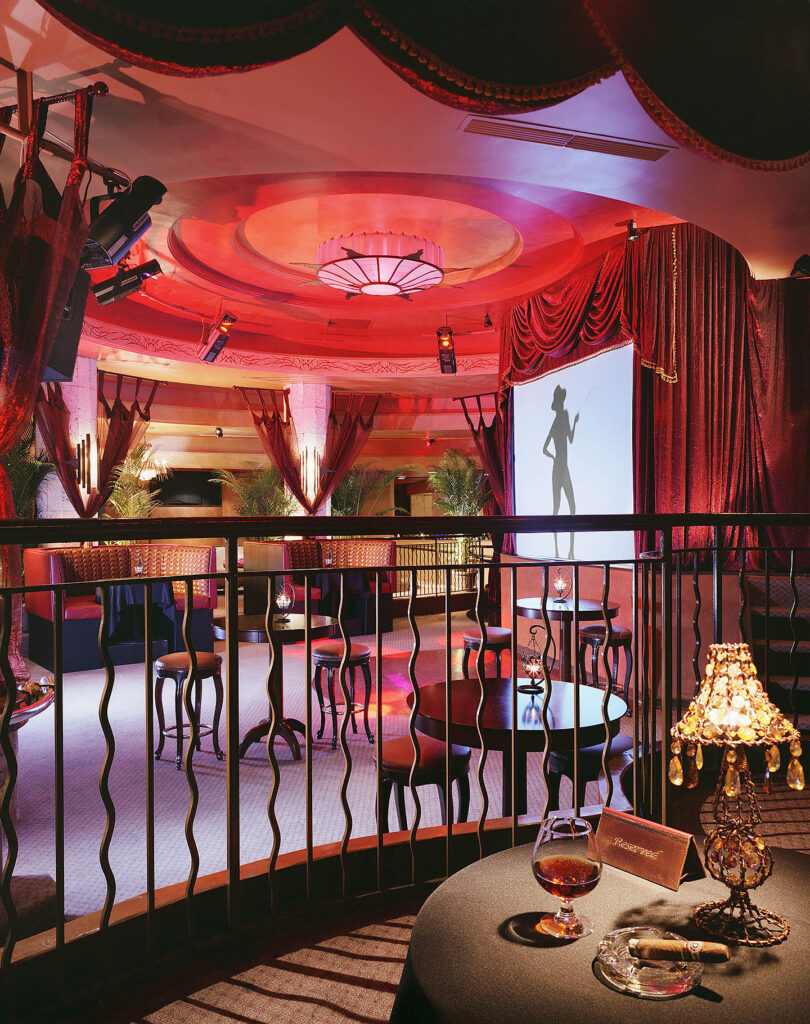
Gear is not the answer.
So based on the above images one can certainly rule out that equipment is a factor in producing great images for your clients. That said having some level of equipment is required, but above that level which is pretty low, you are good to go. So what is the factor which binds all these together? Well, let’s go back to the days of architectural photography before digital. Because it is there where you will find the key.
A bit of retrospective history.
When I began my career working under master photographer Dan Forer in the 1990s the process to get an image was painfully slow. We had an entire case equal to what I would guess would be your entire camera case dedicated to…… camera filters. Yes, filters. Of all types, materials, and sizes. Then there was the gell case which compromised not one 50lb behemoth but 3, which could only be handled by two people. One gell case for the lights then two much heavier and larger, with rolls and rolls of gell for windows. Then there was the camera. A 4×5 camera takes time to set up and calibrate, then time to focus. The focus alone depending on the lighting situation could take 30 minutes or more. I can distinctly remember doing 5 min polaroids one after the other to check focus and composition. This process along with hiding EVERY light and EVERY cable could push shots through the 3-hour mark. Shoot days would provide for only 4 – 8 images per 12-hour day. So why does this matter to the question of what makes great images?
Father time
With that bit of history in mind consider for a moment how you shoot. Grab the camera, slap on a zoom lens then walk around a room looking for a good angle. Some folks will find an angle put down a tripod then shoot a bracket on autofocus in 2 -4 min. I’ve seen it and consider it an option but only in a worst-case scenario. Let’s revisit one aspect of the above history which I left out. The preparation for the camera. Considering the extensive time required to set the 4×5 camera and then the time to get the capture, you better be damn sure you have the right angle at the right time. If the light changes in the middle of the shot, you’re screwed, and likely going that that case of gels and be on the floor cutting some CTO gel for a window.
So before the camera was ever placed we would grab a black matte board with a 4×5 cutout in the middle, walk around the room and peer through this matte. During this time we would be gauging lens selection, gauging composition, lighting considerations, and more. This was the meditative time of shot consideration which is at the heart of great images. Take time to consider what you are doing, why, and for what end result. Sit with the shot before the camera is ever placed, take 5 minutes with your composition, and be damn sure that is the shot you want to work on.
Conclusion
So to condense this idea into a fun list here we go:
- If possible walk through the space without a camera. Do this before the shoot so there is no temptation to grab the camera to “just get this one shot”.
- If you have the opportunity, ask the client if you can visit the space during working hours and experience it as a guest. If it is a restaurant come and have a meal there, or a drink at the bar. Simply putting yourself in the position of a guest can open whole new worlds on how to see the space.
- List the spaces and timing of each space. Break down each shot into setup, lighting, and capture. This is not a must-stick to a schedule but will allow you the peace of mind to know you can in fact spend an additional 20 minutes on the space or if you are falling behind, pick which less important shots you can rush and which you can not.
- Before you set the camera, figure out the composition with your hands out in front or with a matt board, and know the lens selection and how you are going to approach the lighting.
Improving your interior and architectural photography images is as simple as, slow downing and considering your image before you rush headlong into your next shot!